

The Oculus Rift
 The Oculus Rift is a portable (head-mounted) virtual reality system available from Oculus VR. The sense of immersion in a virtual environment comes largely from the ability to change your position and have the view change naturally, as it would in the real world. The sense of immersion is also increased by being able to interact with the environment in natural ways, so the devices we use to do things in the environment are important. This How Stuff Works article on How Virtual Reality Gear Works provides a nice introduction to VR.
The Rift is a small, light, fairly high resolution head mounted display, available at a cost low enough that many people could afford. Tracking of head movement is done with a single small camera, which is set up facing the Rift. The largest market will likely be computer gaming, but people who explore 3D data sets will likely find good use for the system as well.
Videre Analytics has experience in scientific visualization and display of data in a variety of 3D technologies from small auto-stereo systems to full size immersive environments. A head mounted display with HD resolution and tracking is a very interesting idea for us to enable data exploration at the desk. If the experience is good, this enhances the ability of the analyst/researcher to explore data easily.
Getting the Rift
We ordered an Oculus Rift DK2 on Dec. 23, 2014 and it was shipped on Dec. 24, 2014. FedEx put it into my hands on Dec. 30. The shipping time was great, particularly given that this was done over the holiday season.
The price was $350 USD with shipping by FedEx out of the US for $55 USD the total was $405 USD. With the current exchange rate at a painful (to Canadians) $1 CDN = 0.85 USD, the cost to us was a bit higher. There was an additional customs import charge of $30.85 CDN.
Opening The Box
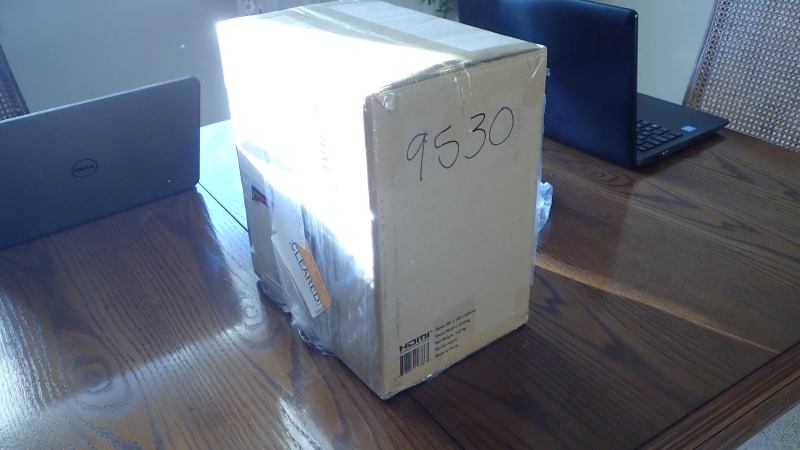
The photograph below shows the box we received. Inside is another cardboard box with a foam liner. The cutouts fit the components nicely, and the packaging system does a great job of protecting the Rift.
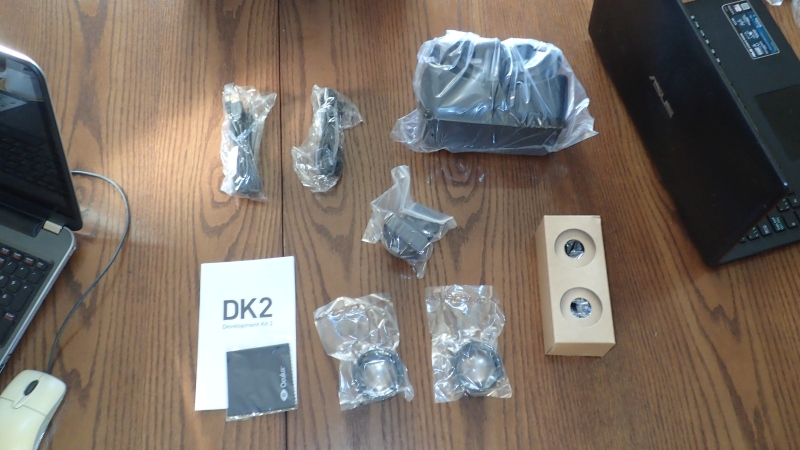
In the box we found:
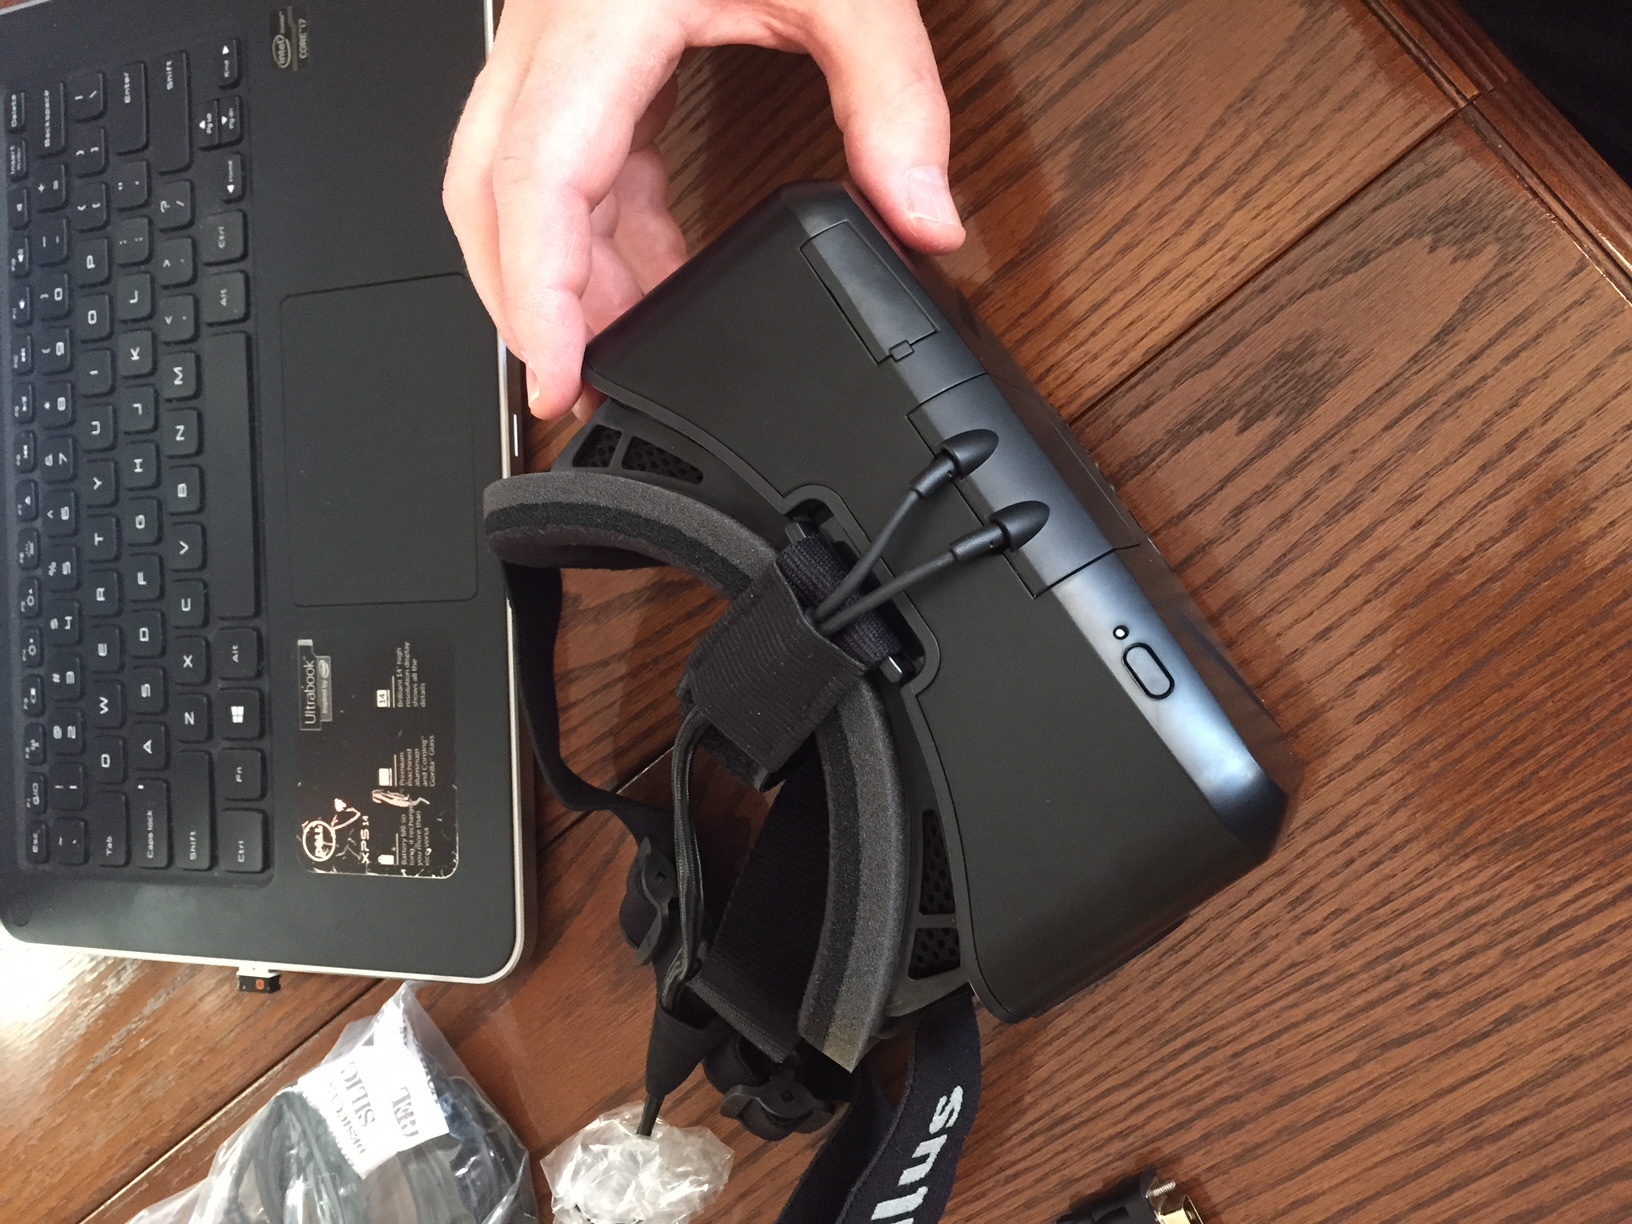
- the headset
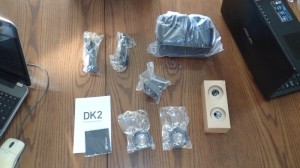
- positional tracker (camera for headtracking)
- USB cable for headtracking
- positional tracker sync cable
- an additional pair of lenses
- lens cleaning cloth
- box with small components
- power adapter for the headset
- four international power adapters
- DVI to HDMI adapter:
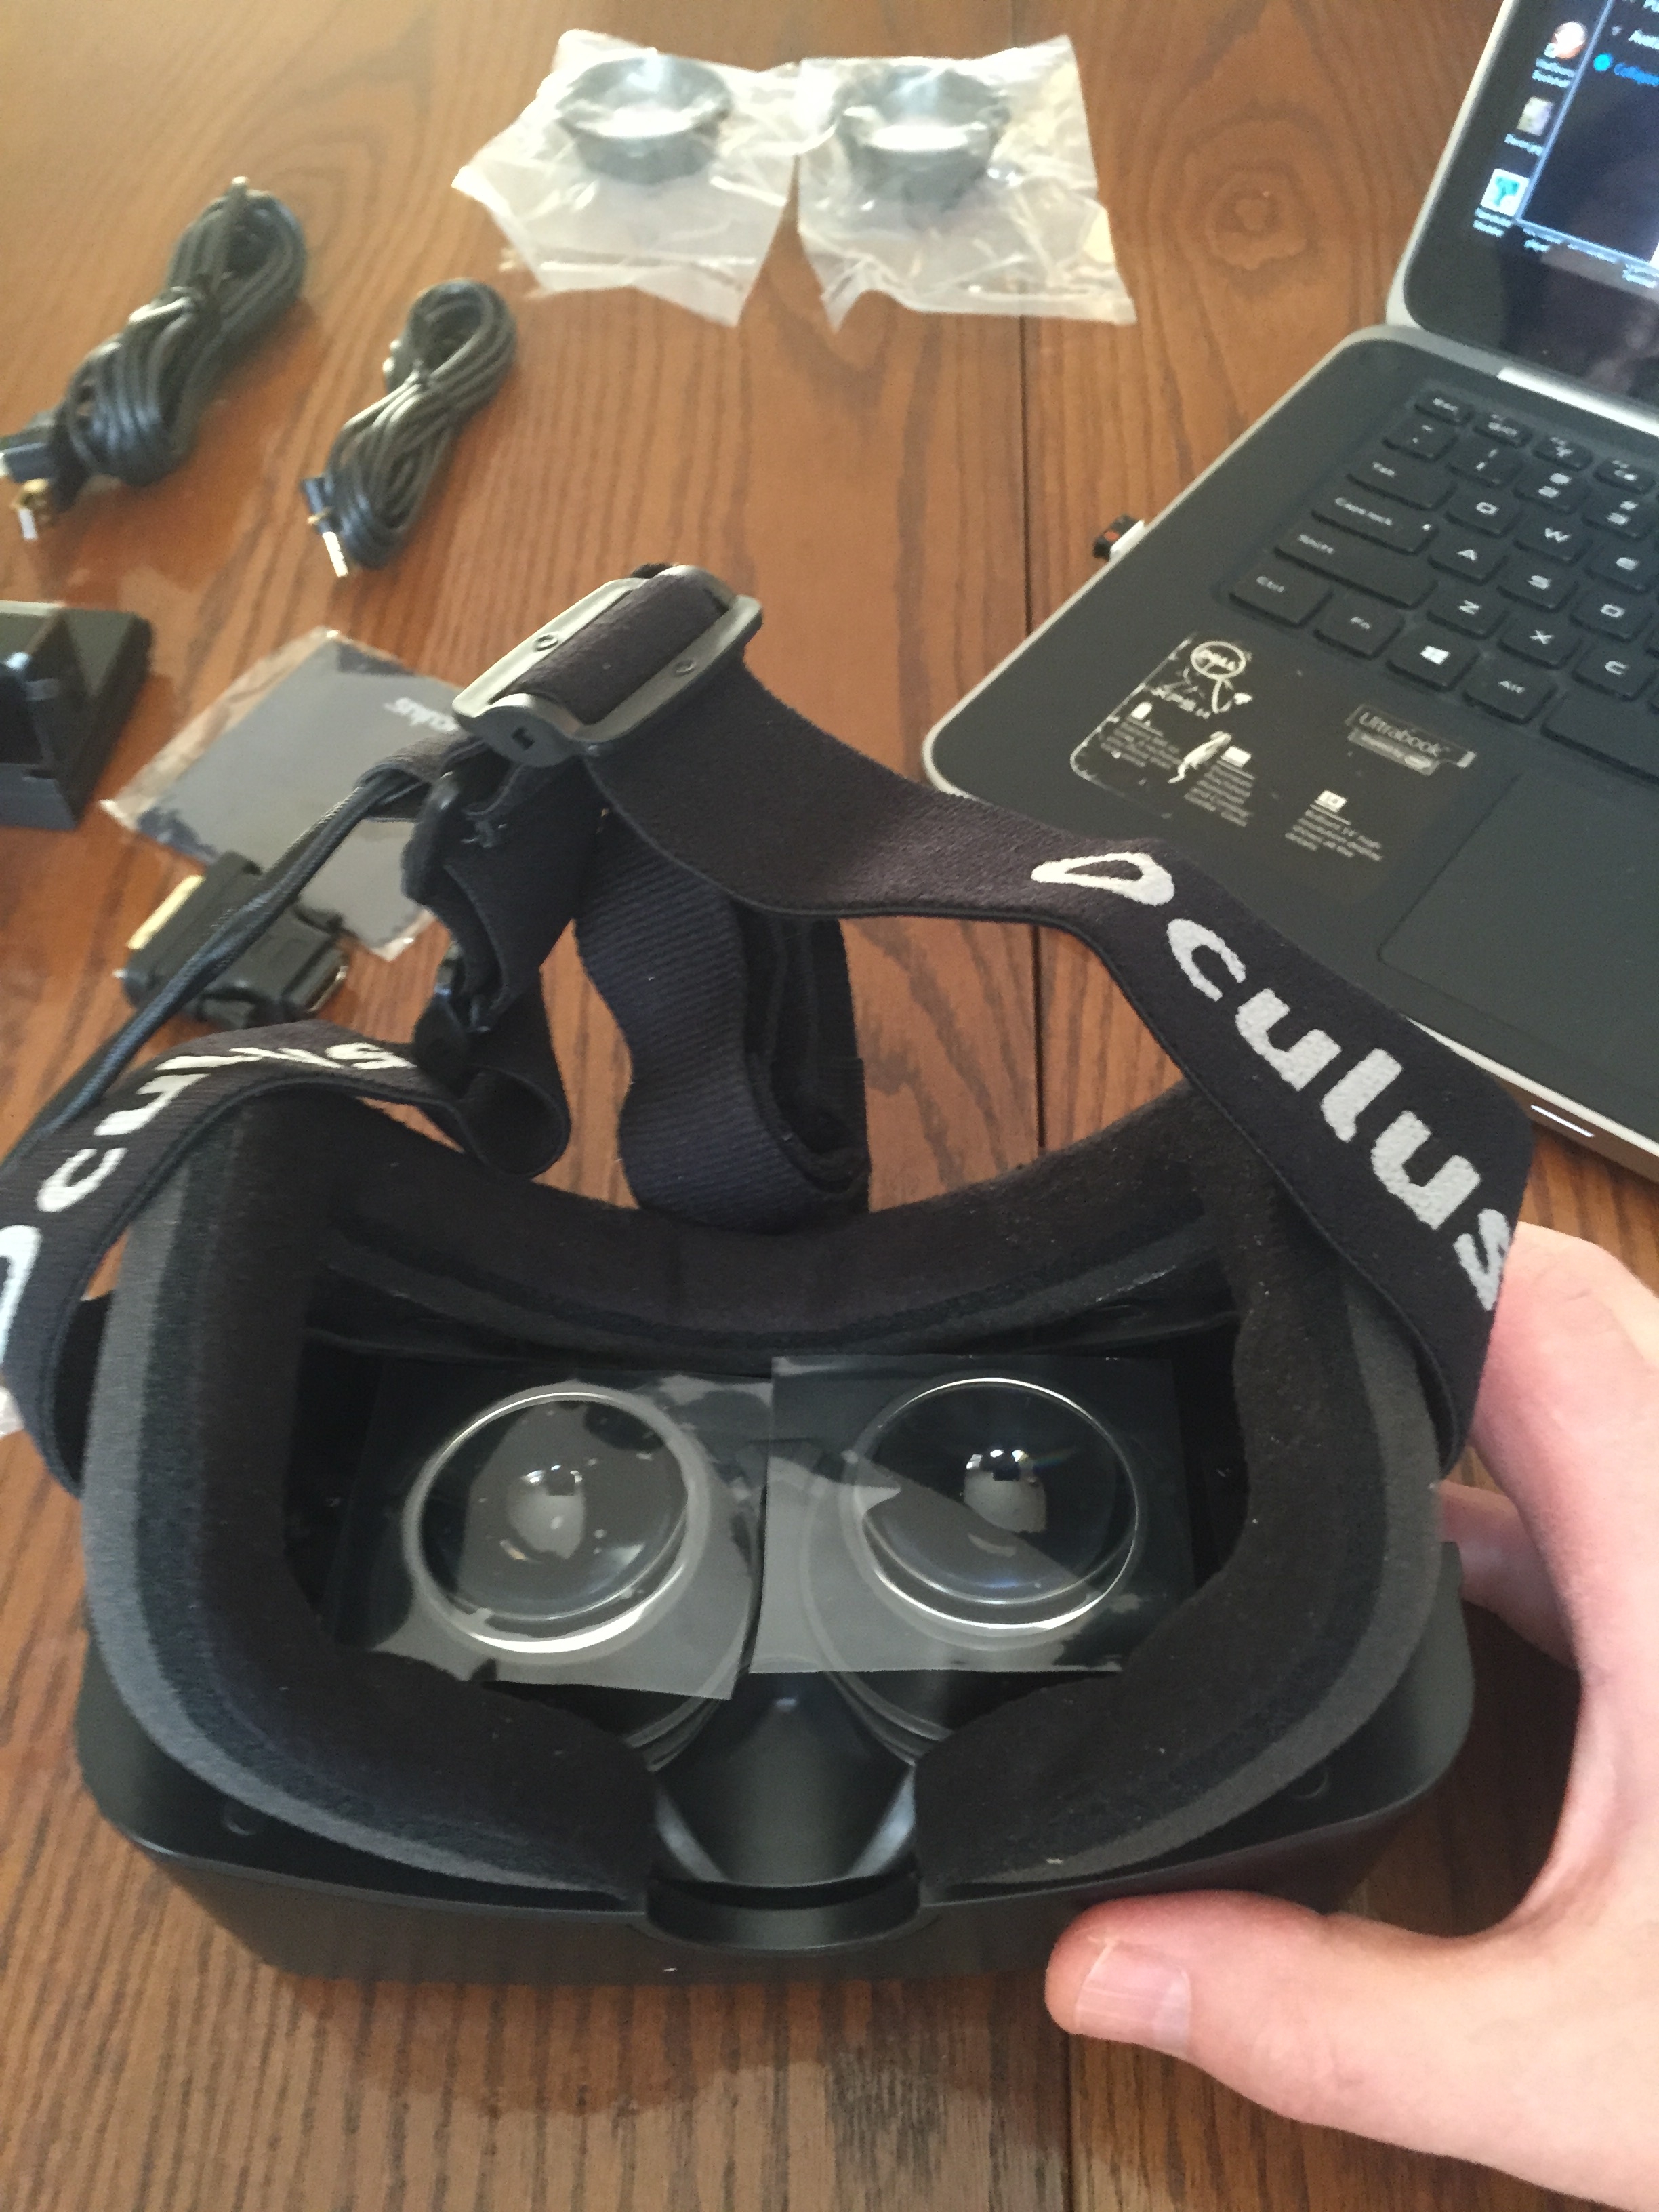
The HDMI and USB cables are integrated in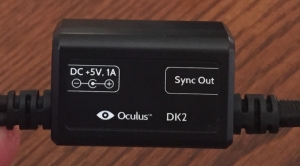 to the headset. The sync and USB cables connect the headset and computer to the camera. All of these cables are about 3 metres long. The power adapter cord is 2 metres long. The power adapter cord connects to a connector block at the far end of the HDMI and USB cables attached to the Rift. The cables are certainly long enough to be comfortable moving around the work space in front of your desk.
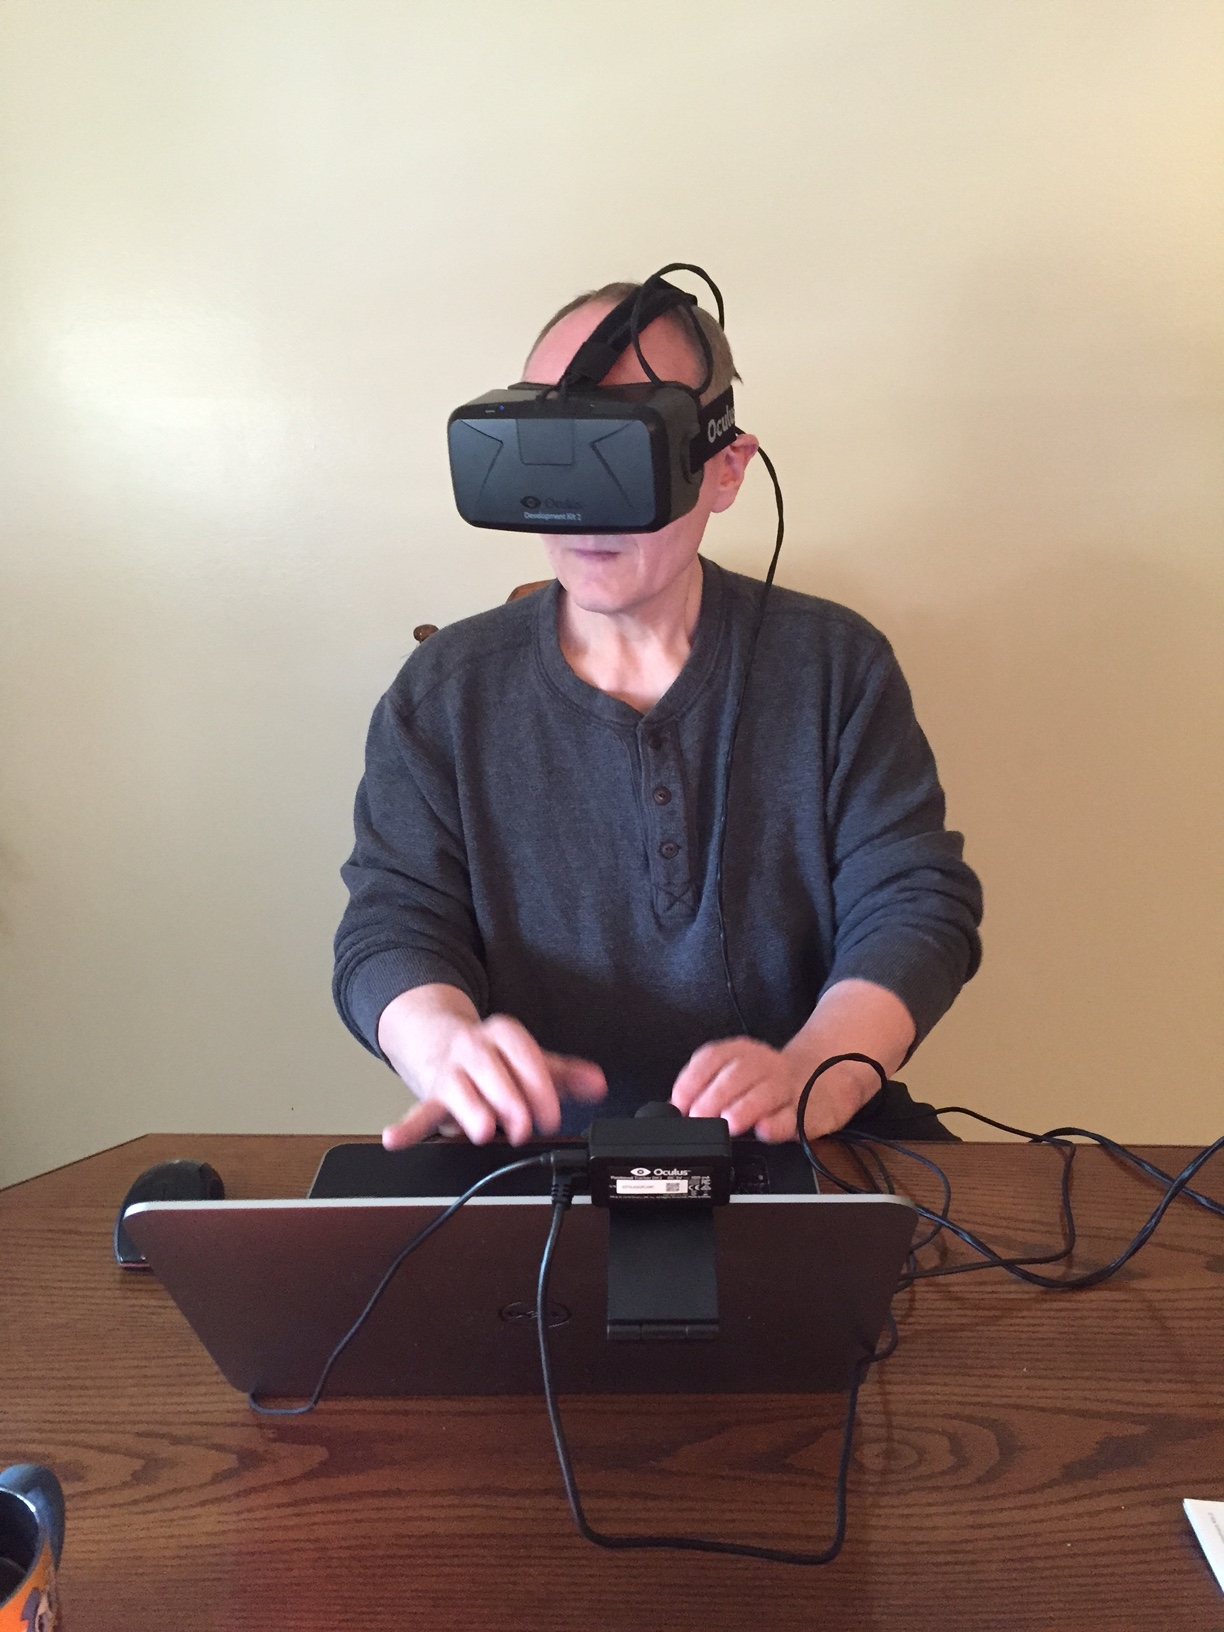
When it’s all put together, you will look very high-tech and professional wearing your new technology.
Connecting and Testing
To develop software you need the SDK which is available from the Oculus website at developer.oculus.com. Create a free account to get access to the resources. It is possible to download the SDK without creating an account, but to get the demo software you will need to spend a couple of minutes filling in the form. There are some Visual Studio example solutions with the SDK so, of course, you will need Visual Studio to build them. Microsoft Visual Studio Express is a free download.
Once you are logged into the developer area on the Oculus VR web site, click on Downloads on the menu bar and grab the SDK and runtime packages for your system. Everything there is currently listed as beta, just grab the latest version. Our test system has Windows 8.1 so we got the packages
- Oculus Runtime for Windows – version 0.4.4-beta
- Oculus SDK for Windows – version 0.4.4-beta

To test the Rift, though, there is demo software available for download. The packages include executables that you can run once you have the Oculus Rift runtime installed. The community contributed demo software is available under the Share menu on the Oculus website.
Running Demo Software
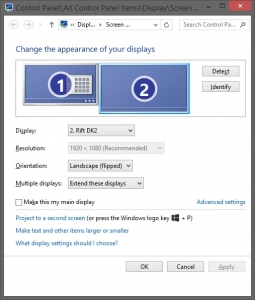
The Rift appears as an extended desktop with full HD (1920×1080 pixels) resolution on our system. The first view through the Rift of a 2D desktop is a bit disconcerting because you don’t get a view of a flat computer desktop. The Rift is designed to view 3D content and you are presented with different sections of the desktop for each eye. Depending on the image you use for a background, it can be confusing, but that is expected with this technology.
After connecting the device to a laptop we downloaded a few demos:
- Welcome to Oculus – a walk-through introduction to virtual reality and the Oculus Rift. A great way to start the Oculus experience.
- Ocean rift – underwater demo. Immersion in a very different environment than we are used to. Watch out for the shark, it tends to be hungry.
- Vanguard V – steer through asteroids and enemies by changing where you look. A great test of the head tracking.
- 6000 Moons – a simulation of satellites around the Earth using real position and velocity data. Real three dimensional scientific data in an environment where the relative positions and motion of objects becomes clear.
- Vox Machinae – a shooter using a PC game controller. My daughter really enjoyed the immersive game environment 🙂
We actually tried more than these, but some didn’t work with our DK2 version. Demos developed for DK1 probably won’t work with DK2, and if we had trouble with DK2 demos, we left them. The short list above worked well with our system, and demonstrate a nice range of capabilities.
Many of the available demos are games and a controller can enhance your interaction. The XBox 360 Wireless Controller for Windows seems to be pretty standard, and works on both the Windows 7 and Windows 8.1 systems that we tried. Until Oculus develops a VR contoller we’ll have to make do with the standard PC game controllers. If you have trouble configuring the game controller, ask your local teenager and you’ll be up and running in seconds.
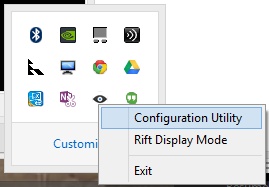
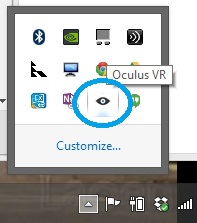
The demos can lead to a bit of nausea and some configuration using the Oculus configuration tool located in the Windows System Tray can help a lot. The image on the left shows the Oculus VR eye icon in the tray. Clicking on the icon brings up a menu which allows you to configure the behaviour of the Rift.
We will talk more about configuration of the Rift in a separate article.
Here are some comments from our testers about the demos: “really great … you even get butterflies when you fall”, “the quality of the images is great”, “Eeeeeeeeeeeeeeeeeeeee…”.
Conclusion
It’s hard to translate shrieks of delight from teenagers looking at the Under Water Demo, into a blog article, but the response to the Rift demos is compelling evidence that there is interest in this display technology. Whether we can use this in a data analysis setting remains to be seen, and we’ll get back to you on that. For now, this thing is cool!
Leave A Comment